
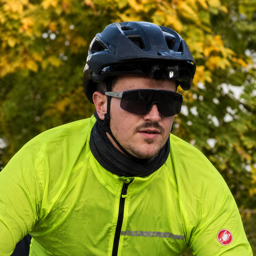
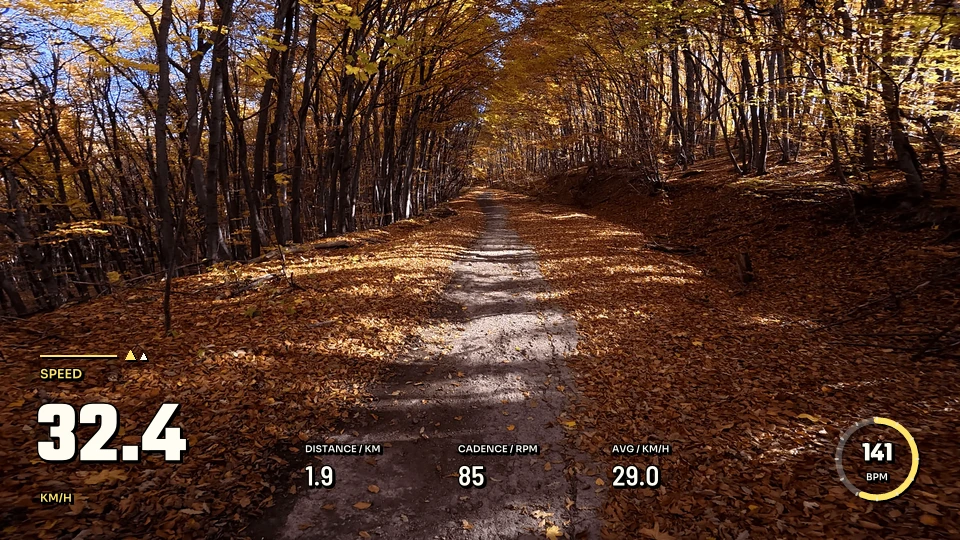
Choose the recording of the activity you want to show. If you are adding overlays to footage, use the activity captured while your camera was recording. Its timestamps let Movaro match data to the video; its recorded channels determine which readings you can display.
Movaro accepts local GPX, FIT and TCX files, as well as GPS activities imported through Strava. You can also create a project from an activity alone and export its overlays without adding videos. The useful question is whether your recording contains the times, route and sensors you need.
A recorded activity is different from a planned route
A planned route describes where you intend to go. It may contain a line on a map and an elevation profile without recording when you passed each point. A completed activity records what happened over time.
Check the recording's date and duration, then verify a recognizable moment in the footage. Two recordings of the same route are not interchangeable just because their map lines look similar.
Choose the source you have
| Source | When to use it | What to check |
|---|---|---|
| GPX | You have a recorded GPS track to accompany outdoor footage. | The track needs timestamps. Sensor fields vary; a route alone does not guarantee power, cadence or heart rate. |
| FIT | Your recorded activity includes route or sensor data you want to preserve. | Check the selected session and available channels. Indoor recordings can be useful without GPS. |
| TCX | Your activity is available as a TCX recording. | Confirm its time range and sensors, and choose the right session if it contains several. |
| Strava | You want to select a GPS activity from your connected account. | Import requires GPS data. For an indoor activity without a route, use a local recording such as FIT or TCX. |
Strava imports can include heart rate, cadence and power when Strava supplies those readings. That does not guarantee every channel from the original recording will be available. If a measurement you need is missing, check your original activity file. An activity marked No GPS may appear in the Strava list, but it cannot be imported through the current GPS workflow.
Start with the activity and select the matching session
Open New project. The first step is Activity. For a local recording, choose Local file — GPX, FIT, or TCX, then browse to your file or drop it into the dialog. You can also drop the folder from your ride: Movaro finds an activity file and offers to use videos beside it.
If the recording contains several sessions, select the one matching your activity. Check its date, duration and available metrics. A recording without GPS shows a notice that map elements will be unavailable.
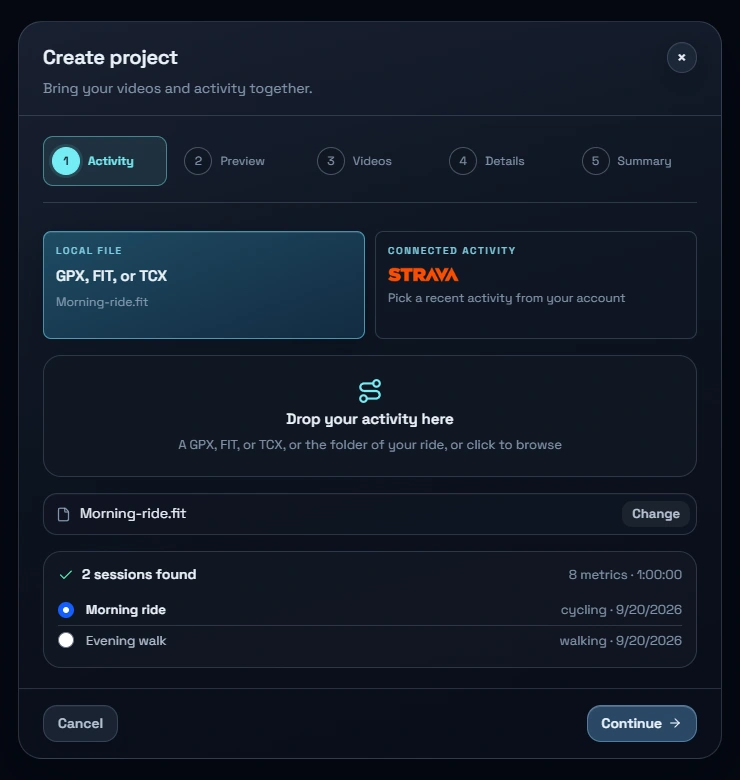
For Strava, select the connected source, connect your account if needed, and choose the matching activity. Check its name and date before continuing.
Trim the activity, then add videos if you need them
The Preview step lets you trim the beginning and end of the activity. Use the speed and elevation profiles to find the section you want, or keep the whole recording. You can adjust this trim again inside the project.
On Videos, add your footage or accept the videos found beside the activity. Movaro checks their recording times against the activity. Review any unmatched videos or missing recording times; a camera clock difference may need a sync correction. Videos outside the trimmed activity range are marked and skipped, so widen the trim if you need them.
For a project made from the recording alone, choose Skip — overlay only. You can export an overlay covering the whole activity or your trimmed range, and add videos later.
Choose overlays for the available data
Maps and compass need valid GPS coordinates. Elevation displays need altitude data. Indoor activities can still show recorded speed, distance, power, heart rate or cadence when those channels are present.
Movaro also calculates values such as pace from available speed, or average power and work from recorded power. Those calculations have source-data requirements too. Missing readings remain unavailable rather than becoming zero.
In the layout editor, open Preview data and choose a local recording or Recent Strava. Select the session if needed, then play through the activity or move the preview time. Check for missing readings and numbers that need more room than the sample values. A layout preview using sample data does not establish what your recording contains.
Check the timing with the live preview
Movaro shows live overlays over source videos and the timeline. Play a recognizable part of the footage alongside its route or readings, then check another point later in the clip. Layout and timing changes update the preview without generating a separate preview file.
If the camera and activity clocks differ, open Sync video and route. You can apply a correction to the whole project or just the checked videos, which is useful when cameras have different clock settings.
For a project-wide adjustment, open Time offsets under Overlays. Enter the offset and choose Apply, or press Enter. Revert discards an unapplied edit. This offset adds to saved video corrections, so avoid entering the same correction twice.
Keep the original recording available
For a project created from a local file, you can replace its activity file later. Movaro validates the replacement before switching; an unsuccessful import preserves the existing recording.
A project imported from Strava stays linked to that activity. Its source shows the activity name and View on Strava, and cannot be replaced with a local file. To use a local recording instead, create a project from that file.
Keep your original recording as a reference if an exported file omits a channel or contains only part of the session. For more on the current preview and activity-only workflow, read what changed in Movaro 1.4.
Explore these overlays
Choose a design from Movaro Community and make it your own.