Find, customize and share layouts with Movaro Community
Explore layouts for rides, runs and trail videos, compare formats, and turn a design you like into your own reusable overlay.
 Georgi Kostadinov Founder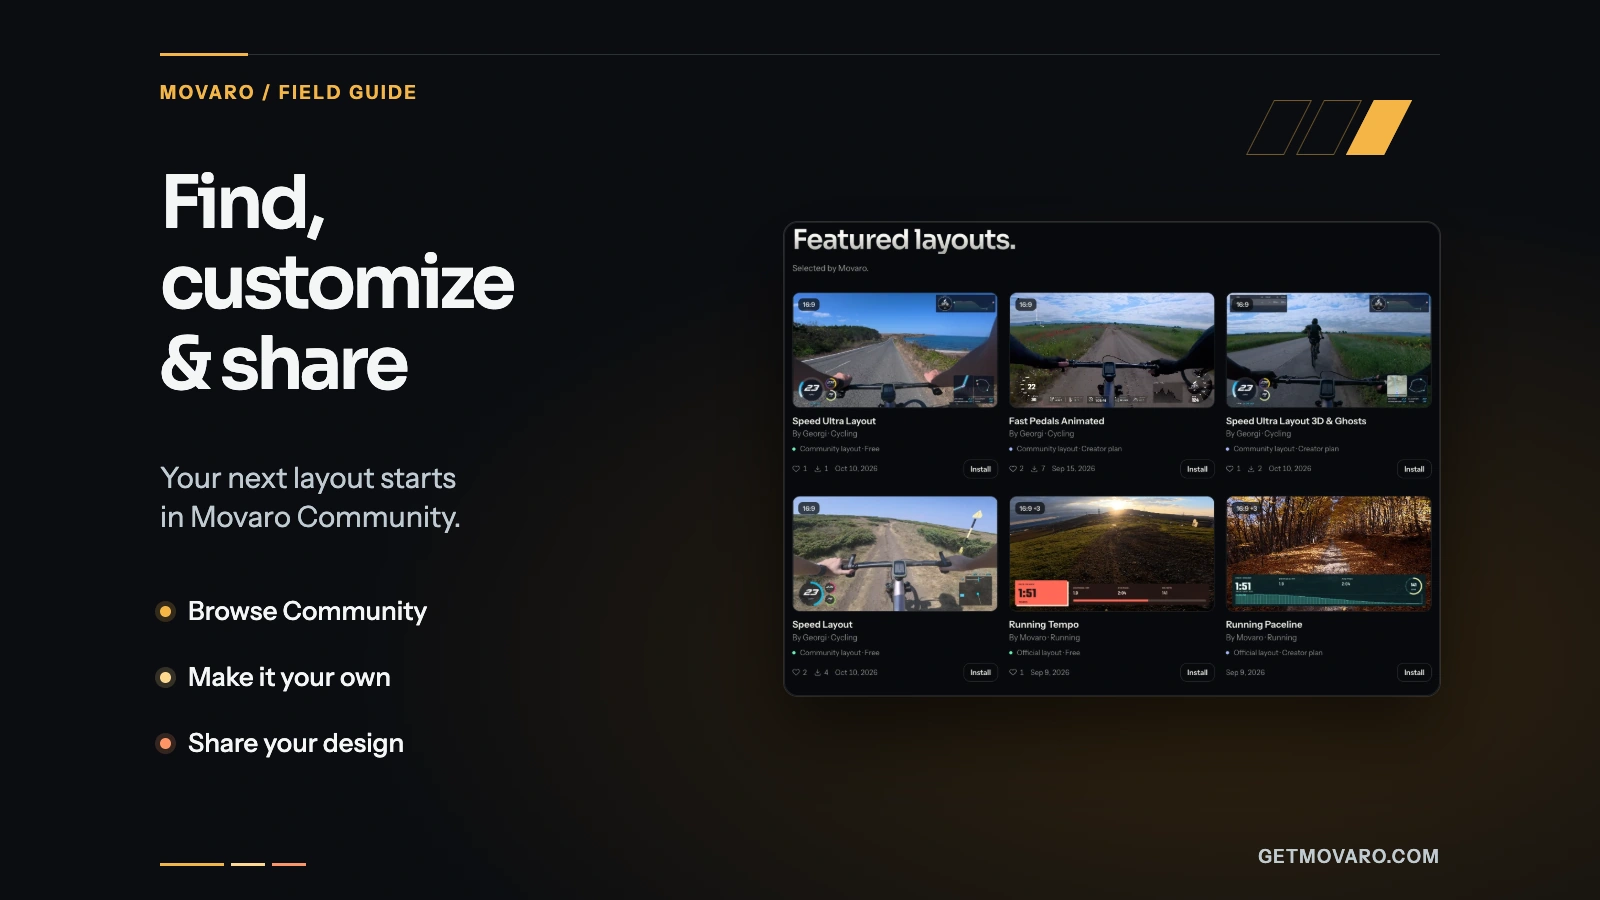
Movaro Community is a gallery of editable layouts for your activity videos. A layout places readings, maps and graphics over the footage: a pace panel for a run, instruments around a cycling shot, or a profile that follows a climb. Find a design by Movaro or another creator, preview its formats, then bring it into the app and make it your own.
Every Community layout is free to install. A Creator label means the design uses premium elements and needs Creator, Studio or Founder to use those features. If you're on Free, the Free elements filter helps you choose a design that fits your plan.

A gallery for the video you want to make
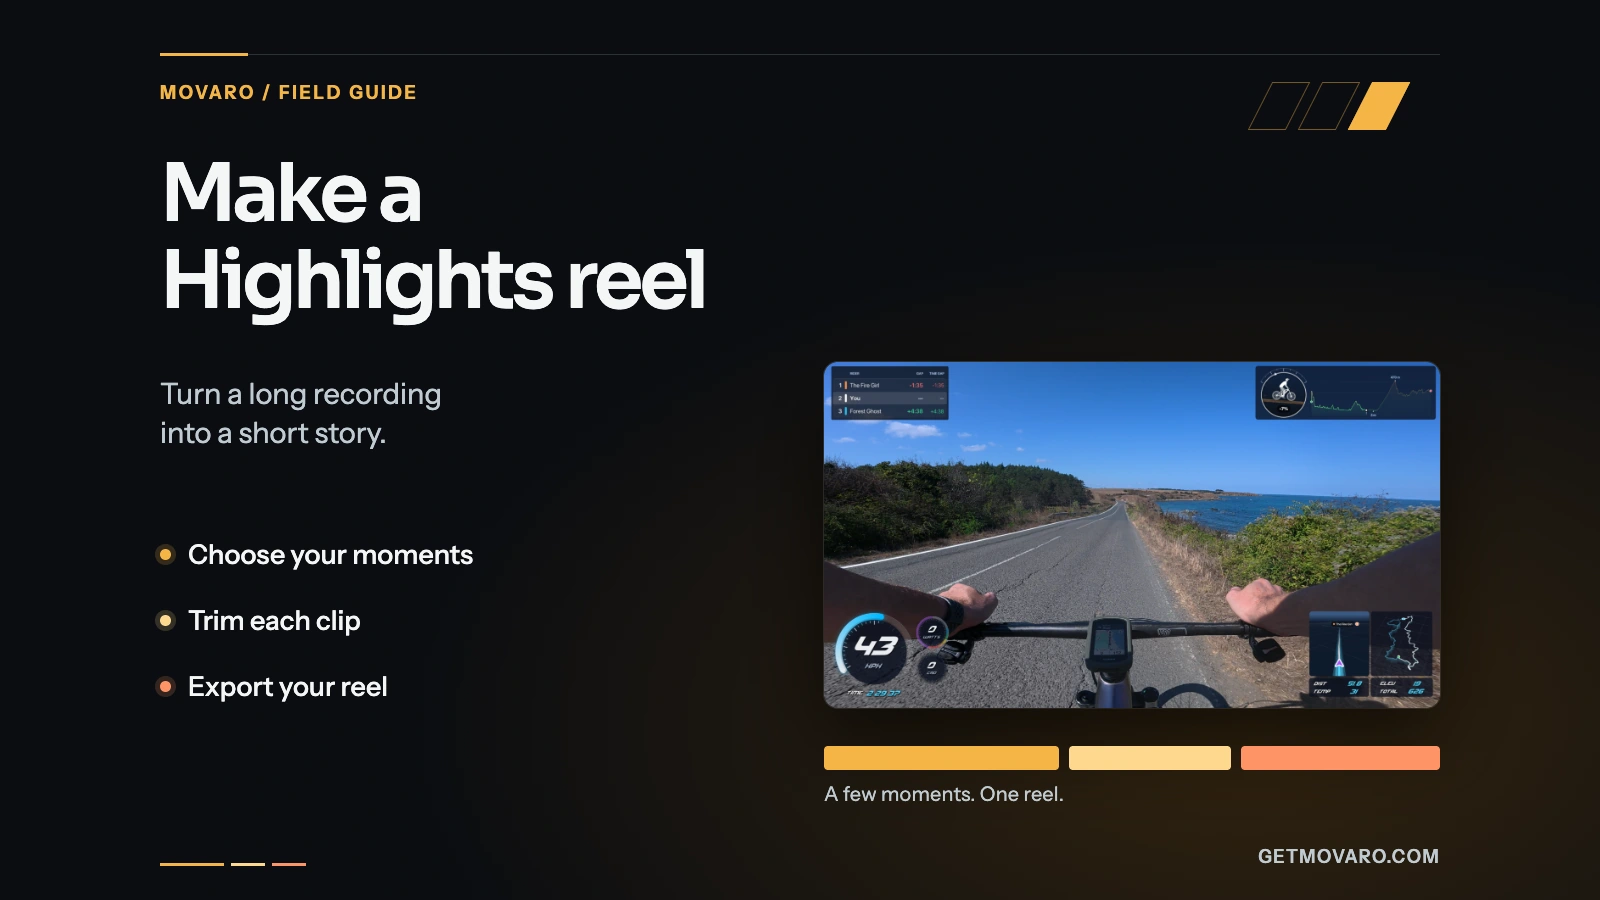
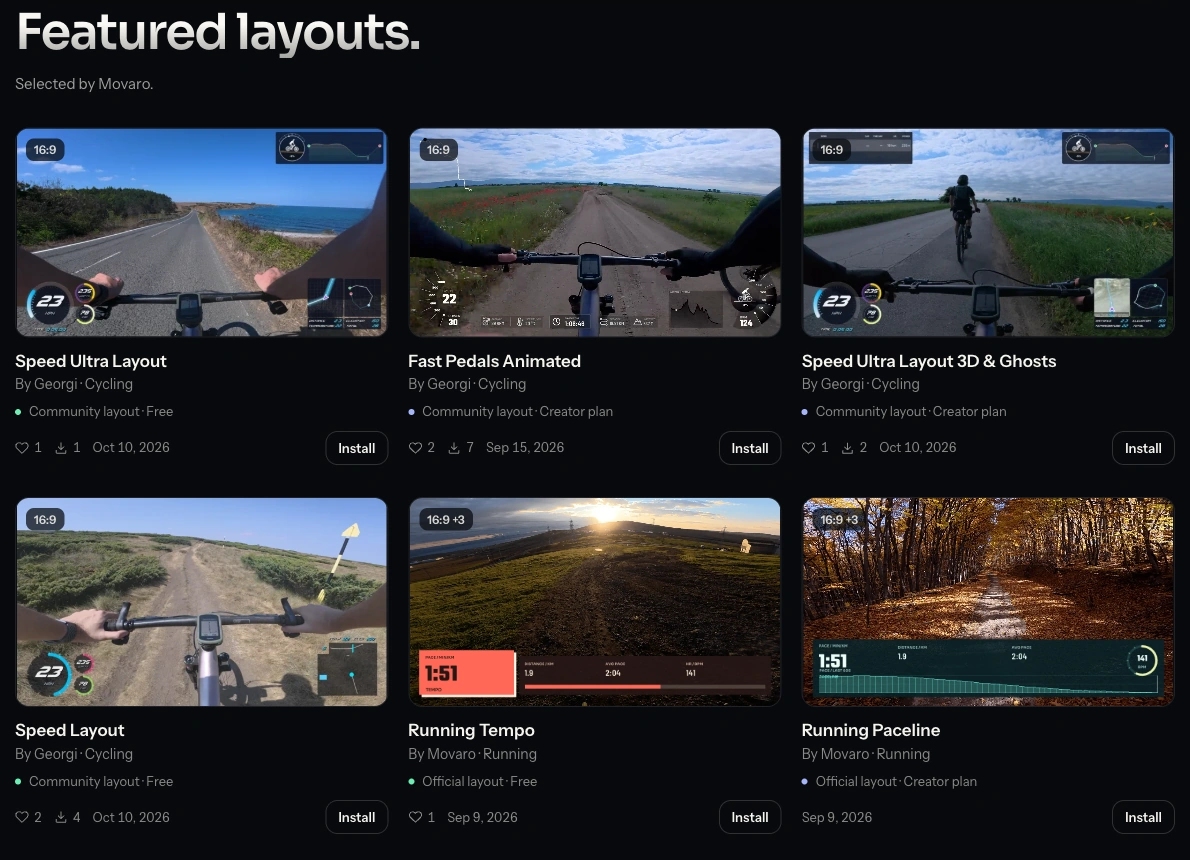
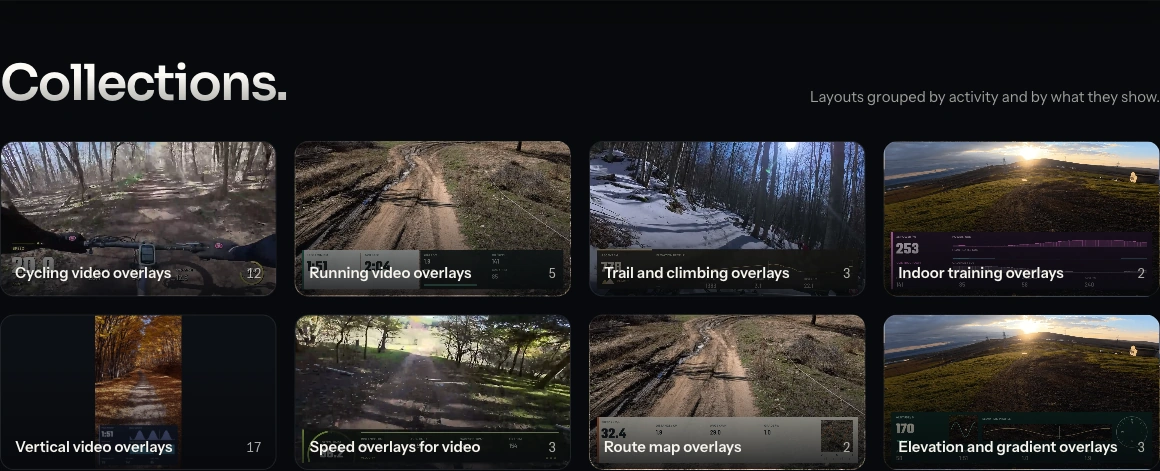
Start with Featured layouts for a selection chosen by Movaro, or move to All layouts to explore the full gallery. Collections bring together layouts by activity and by what they show. Explore cycling, running, trail and climbing or indoor training designs, or start with a vertical-video, speed, route-map or elevation collection. Some featured designs also have ride videos: watch the readings over moving footage to judge how much space they take and how clearly they stand out.
Search for a layout, style or creator. Use the activity links to narrow the gallery, then open Filters for Aspect ratio, Plan and Publisher. Choose Movaro originals for official designs or Community creators for designs shared by other people. Sort offers Newest, Most liked and Most installed.
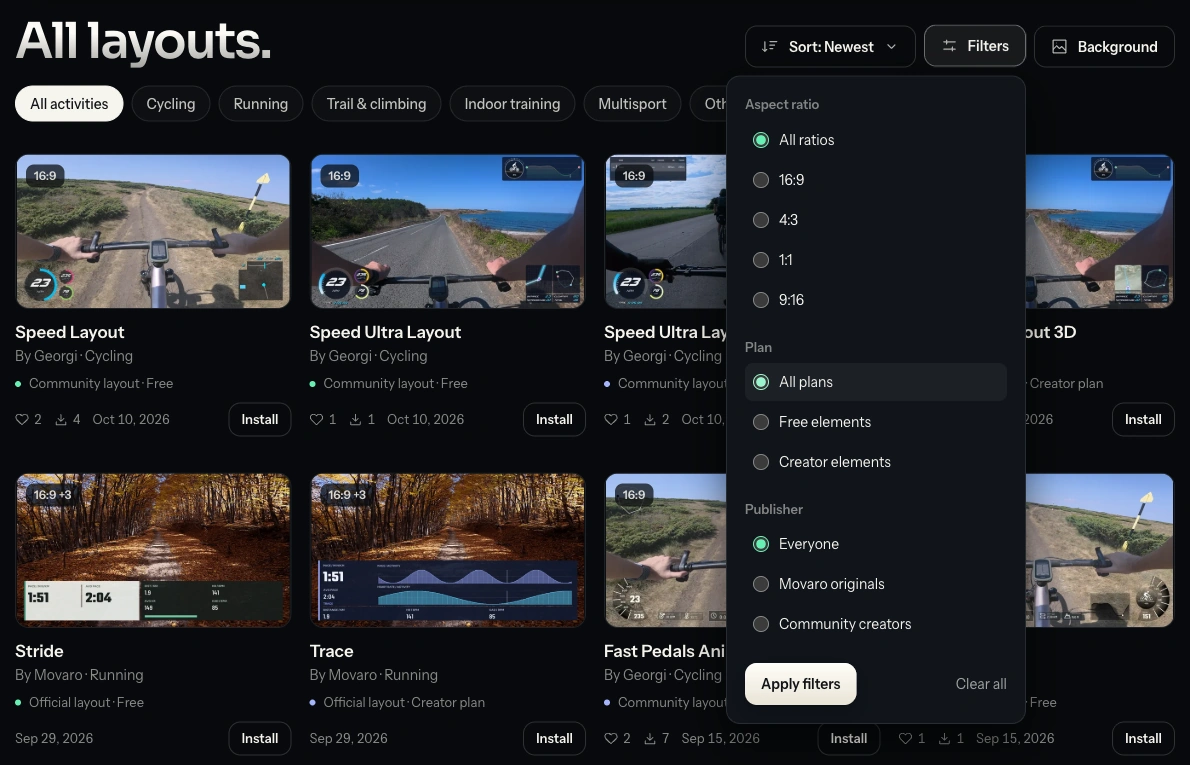
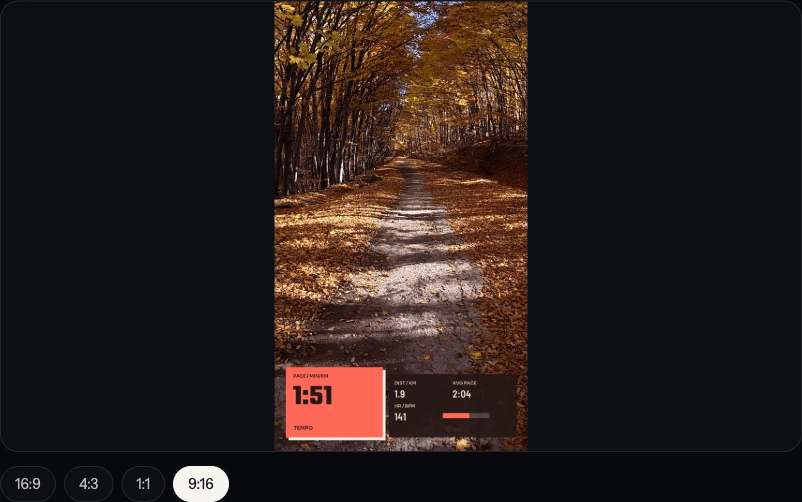
Choose the aspect ratio early: 16:9 for a wide video, 9:16 for portrait, 1:1 for square or 4:3 for a taller landscape frame. A layout can offer several formats, each arranged for its own canvas. A portrait version should place its readings around a portrait shot rather than simply squeeze a wide design into a narrow frame.
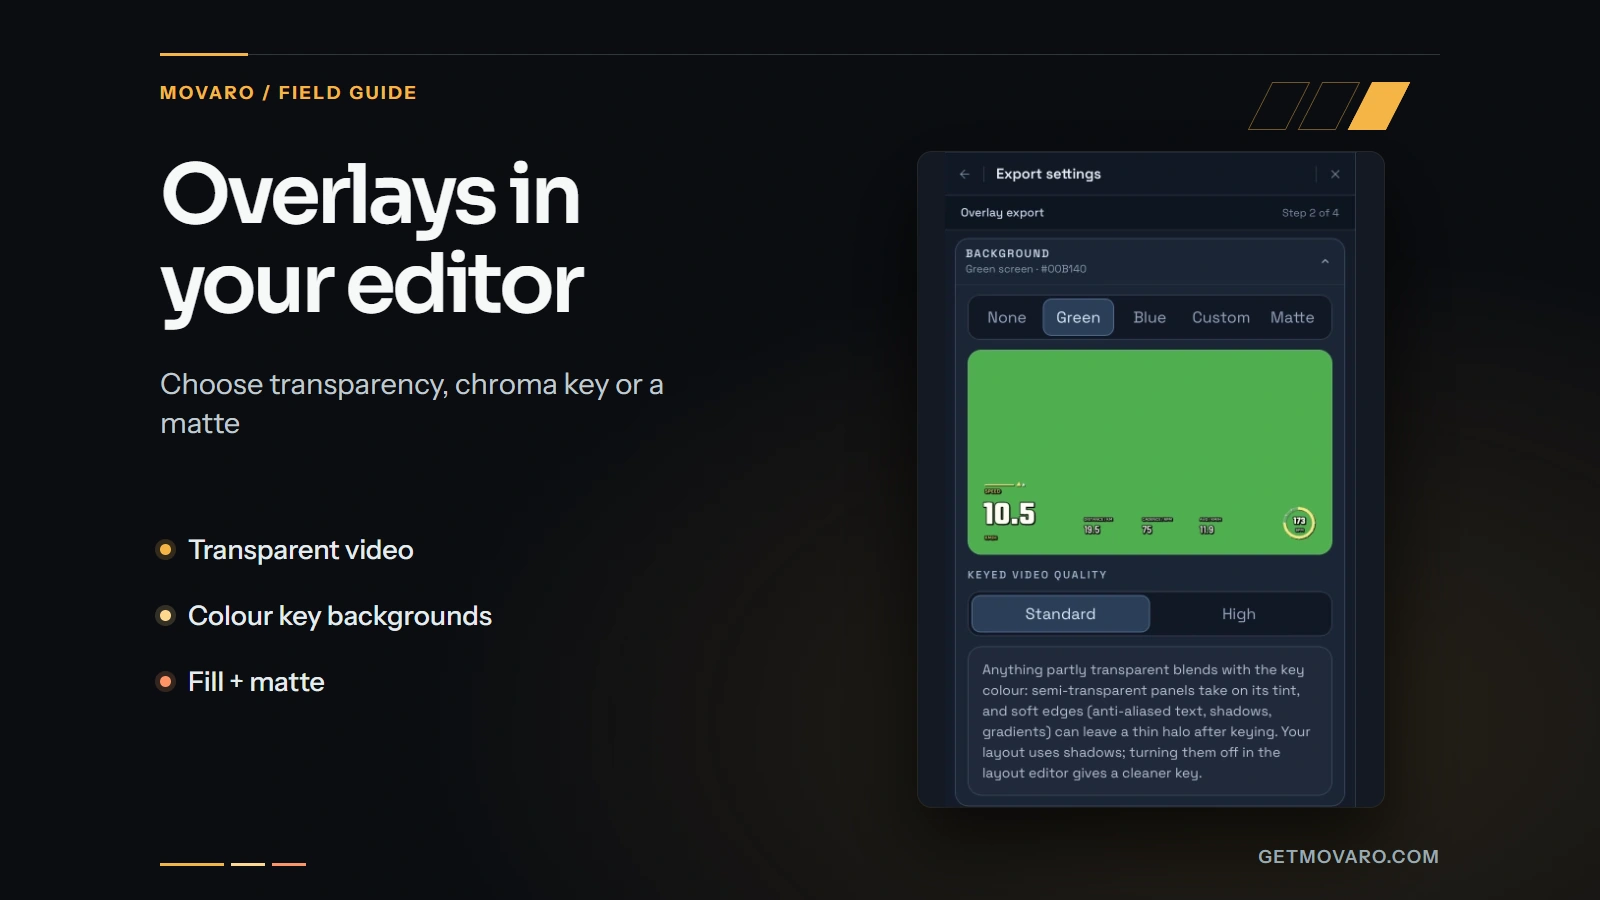
The Background control lets you compare Authors’ originals, Autumn, Muddy and Sunset. It helps reveal a pale label that disappears against the sky or a dark panel that gets lost in trees. Background switching works for layouts with a transparent preview; older previews may keep the creator's original image. These are viewing backgrounds, not footage added to your project.
Open a layout and choose its format
Select a card to open Quick view. You can inspect the full composition, switch between its available aspect ratios, read about the design and check its plan label before installing. Open in new tab gives the layout its own page, with a link you can share.
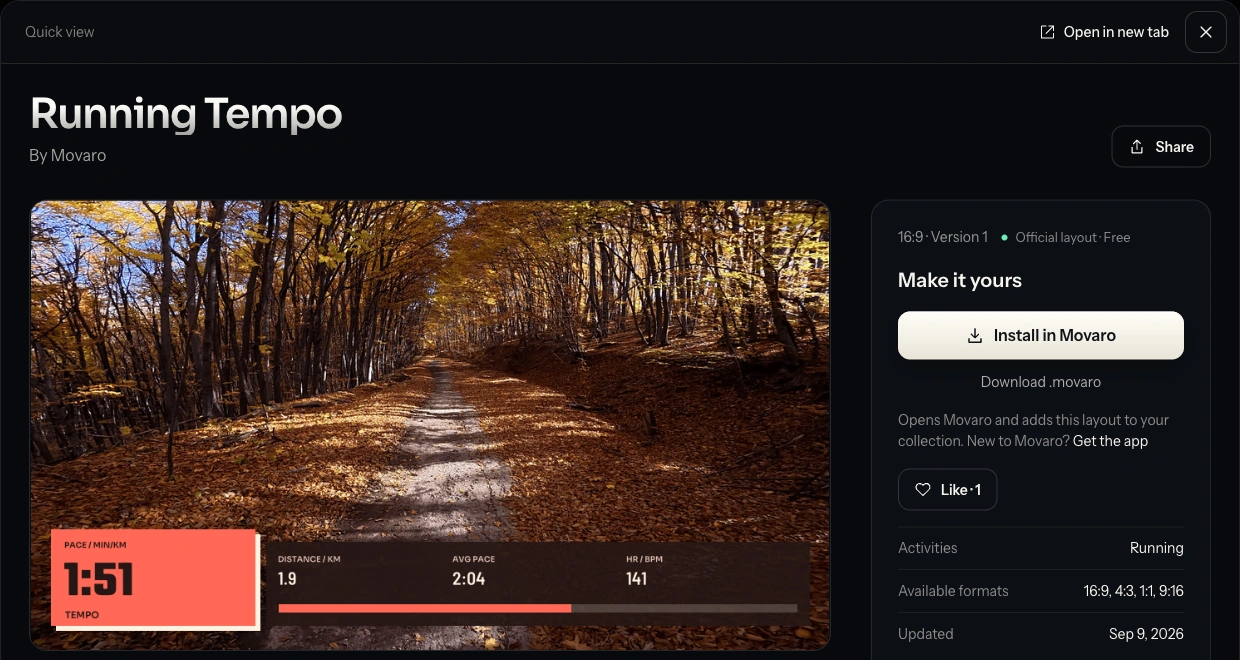
On the layout page, About this layout explains what the creator intended. A Creator showcase clip lets you see the design over moving footage in its matching format; some creators also link to a longer YouTube demonstration. Version history records published changes. The page also identifies the creator, available formats and latest update.
Choose Install in Movaro to open the app's installation screen. Review the layout, select the formats offered, and choose Install layout. If you prefer to keep a file, use Download .movaro and open it in Movaro later. The package carries the reusable design and any included image or custom-font dependencies; it doesn't contain a telemetry video rendered for your activity.
Make the design your own
In Movaro's workspace, open the Layouts tab. Search and filter by source or plan, then choose the matching aspect ratio. Installed designs appear alongside built-ins and your own layouts.
Built-in and Community originals open for inspection. To change one, choose Duplicate as… from its card menu or the actions menu beside the layout title, give the copy a name, and edit it. The original stays available and the copy retains its attribution. From a project's Overlay Layouts selector, Duplicate & edit… creates the editable copy directly.
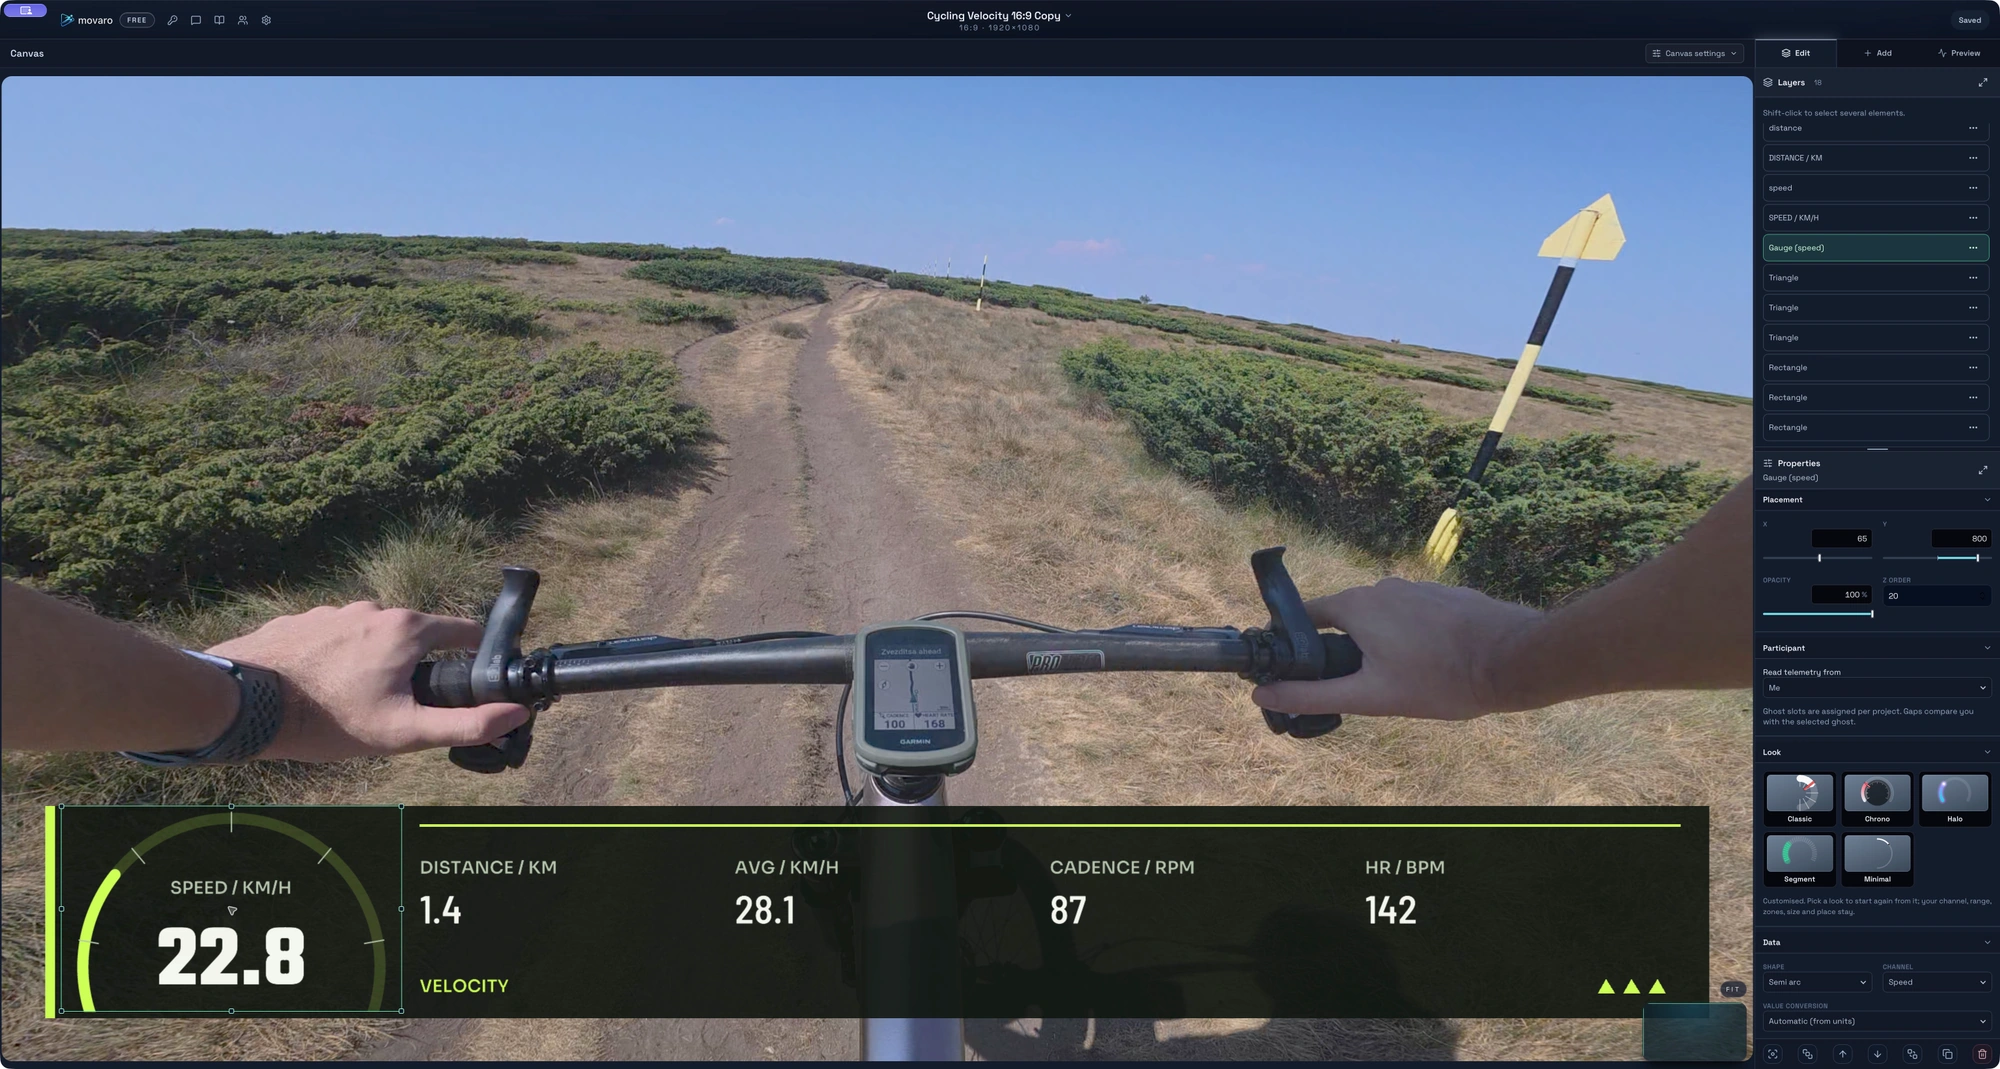
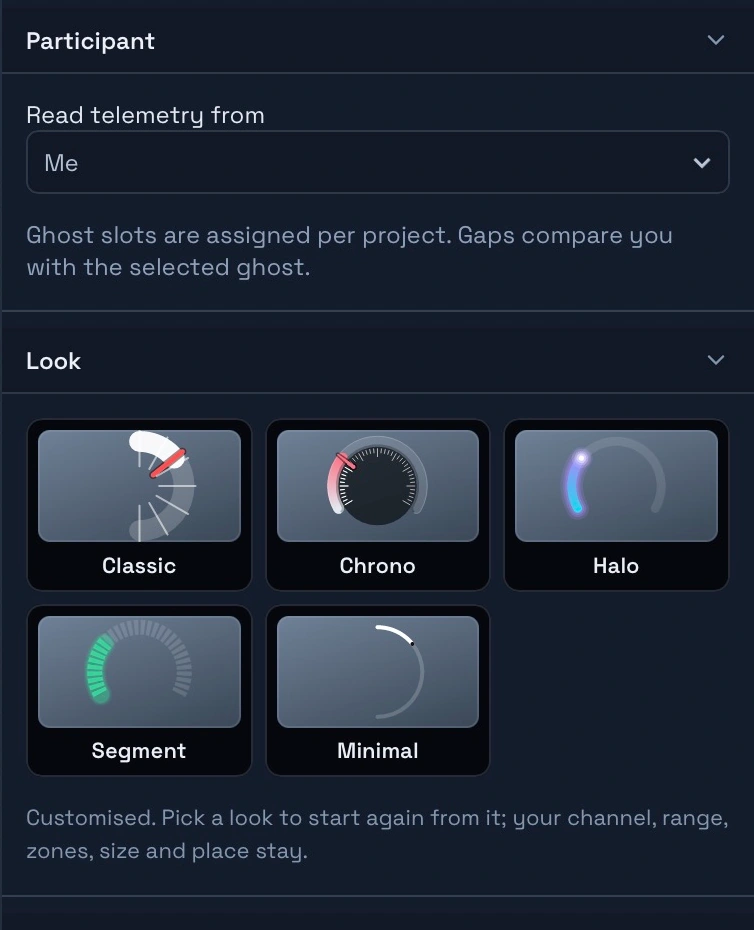
Move and resize readings around the rider, runner or trail. Adjust fonts, colours, transparency, outlines and shadows to keep them readable as the background changes. Layers shows the order of the composition. Use Send to front or Send to back to place a panel behind its readings. A group moves as one layer, while its contents stay editable. Select a gauge and use its Look presets as a starting point, then adjust the details; see the gauge controls.
Use the Add tab to build on the design. Combined contains ready-made groups such as Cockpit, Run Dash, Climb Tracker and Ride Summary. You can resize and restyle them, or ungroup them to adjust the individual parts. Choose a graphic for what you want viewers to notice:
- Climb Profile and Climb Tracker show the climb and progress towards the top.
- Time in Zones shows time accumulated in heart-rate or power zones. Set its zones to your maximum heart rate or FTP so the colours mean something for your activity.
- Power Balance shows the left/right split when the recording contains it.
- Two-line Graph can compare readings such as power and heart rate, while Lap Panel presents recorded laps. These require Creator or above.
Maps can show the route in 2D or 3D. Every plan supports 3D views on flat ground; real Terrain or Satellite ground, with map details and trails, requires Creator or above. Free also includes bundled fonts, colours, gradients, gauges, meters, basic shapes, route maps and elevation profiles. Imported fonts, images and logos, graphs, compasses, Ghost Comparison and conditional visibility use premium features.
Check it with the data and footage you'll use
Open the editor's Preview tab and choose a GPX, FIT or TCX file, or Recent Strava. Select a session if the file contains more than one, then play or scrub through the recording. When opened on its own, the editor remembers the activity you previewed last; opened from a project, it uses that project's activity and ghosts.
A layout can't create readings that weren't recorded. A GPX file may have location and time without heart rate, cadence or power. Power balance needs a recording containing left/right balance; Strava imports don't include it. Laps come from FIT or TCX recordings with lap data. Remove or replace readings your activity doesn't support.
Gallery and sharing previews use demonstration data. The editor can also use example climbs, laps or ghosts to make those graphics visible while you're designing. Check the result in your project with the real activity and footage before exporting.
Select Save, then choose your copy under Overlays → Overlay Layouts in the project. Pick a layout for each required output ratio. If Movaro asks you to Confirm layouts after a canvas change, finish that choice before exporting. The live overlay preview updates with the selected layout; play the footage to check busy sections, turns and changes in light as well as a still frame.
Put your design on Community
Choose Share to community from the saved layout's card menu or the actions menu beside its title. Movaro prepares a preview using demonstration telemetry. Pick a background, enter the layout name and your contact email, then choose Continue on web.
This creates a private draft. On the website, add a public creator name and at least one activity category. You can add a description explaining the design, the readings it expects and where it works best, plus an optional YouTube demonstration. Verify your email, review the preview and confirm that you have the rights to redistribute the included assets, then choose Publish layout. Verifying your email alone doesn't publish anything.
The contact email stays private. Your project activity and footage aren't used to create the sharing preview. Images and custom fonts that are part of the design travel with its package, so check those assets before sharing.
If you've designed another aspect ratio, share it from Movaro and choose Add to an existing layout when finishing the draft. The formats then appear together on one Community page, with shared details and their own releases. You can also group compatible formats you've already uploaded from My layouts.
Keep a shared layout current
To show your design in motion, select it in My layouts and open Showcase video. Choose an MP4 (H.264) or WebM (VP8/VP9) clip, match it to one of your layout's available formats, and choose Upload video. Keep it to 60 seconds or less, no larger than 30 MB, and at 4K resolution or below. You can add a short description and an optional cover image. The clip appears with the published layout, and you can replace or remove it here later.
Use My layouts on Community to edit the listing's shared details and manage Formats & visibility. Design changes start in Movaro. The original local layout offers Publish update after its first verified publication: describe what changed, review the preview and publish the revision. From the website, Update from Movaro starts the same process for a selected format on an authorised installation.
Saving locally doesn't publish an update. Copies and installed Community layouts don't inherit the original creator's publishing rights. For an installed design, its card menu offers Check for updates; adding a newer release keeps existing projects on the version they already selected, so you can decide when to change an ongoing edit.
Explore Movaro Community and choose a layout for your next video. For the steps from activity recording to a finished edit, read Your first video with activity overlays.
Explore these overlays
Choose a design from Movaro Community and make it your own.
Your footage is waiting.
Put your last ride, run or ski day on the video tonight. Free.
Georgi Kostadinov
Founder at Movaro. Building tools for adventurers who want to share their stories.