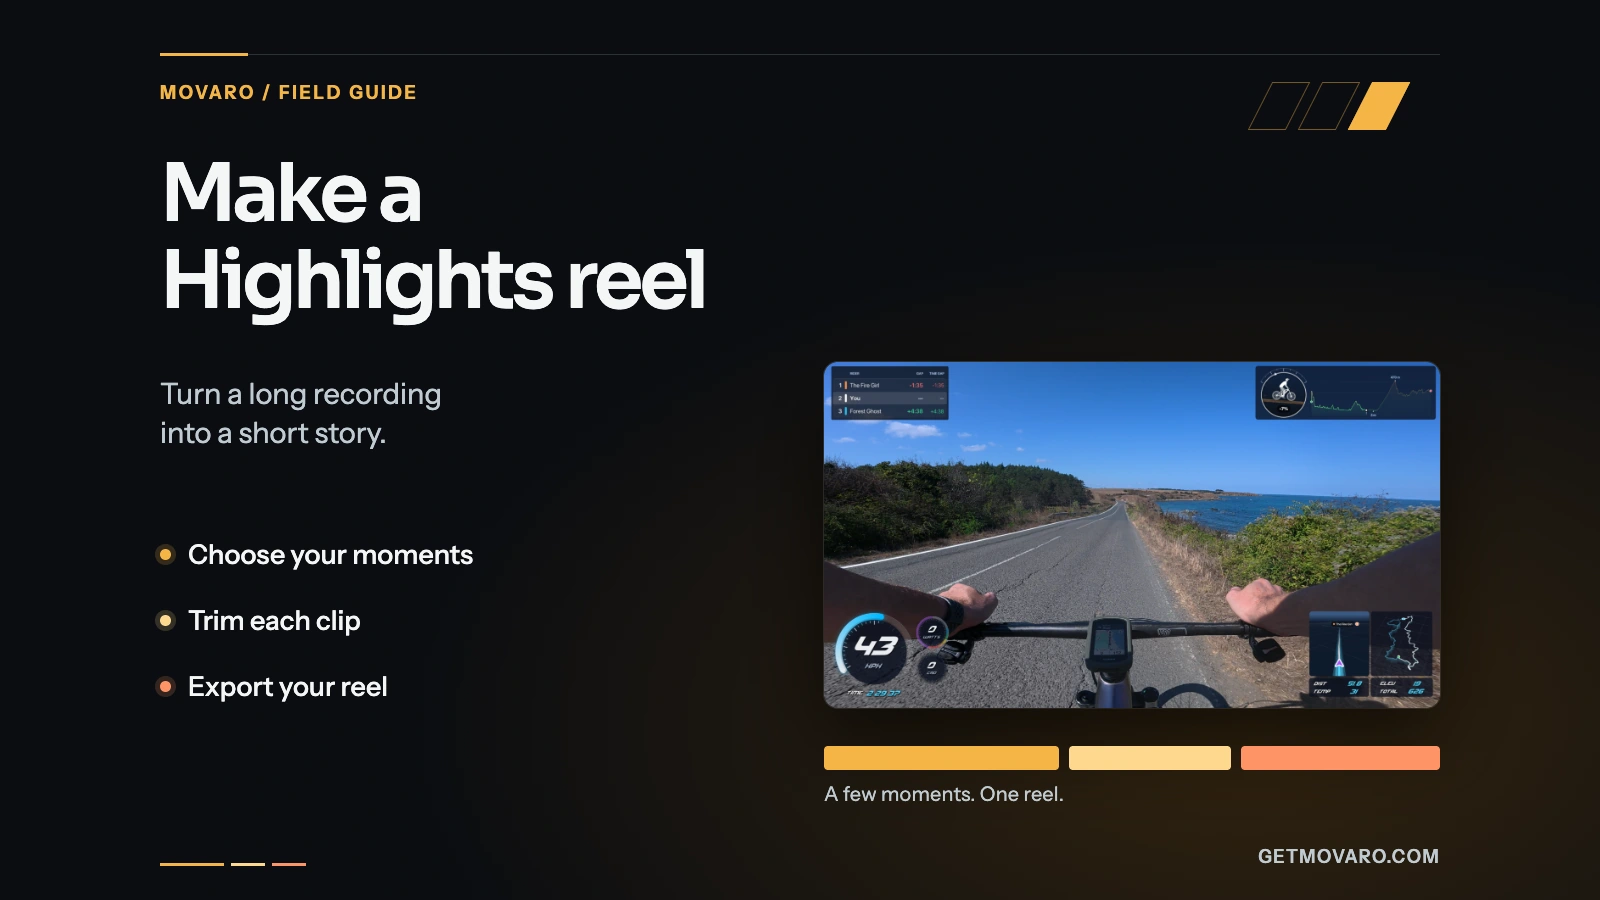
Keep the moments you want to share in a separate Highlights reel: a trail junction, a descent, a finish, or a few sections that tell the story of the outing. You can shorten and arrange those moments without rebuilding your whole video around them.
In Movaro 1.5, creating, editing and exporting Highlights is available on every plan, including Free. Start by choosing moments yourself. If you have Creator, Studio or Founder, Highlights explorer can also help you find a shortlist in your activity data.
Start with footage that lines up with the activity
Open a project with your footage and activity recording, then check the sync at a moment you can recognize. When a reading changes, it should describe what is happening in the picture. If the project isn't ready yet, follow the first-video guide to import the recording, add your footage and line up the timing.
Choose a layout and play a short section. Heart rate, cadence and power are available only when the recording contains them; choosing the right activity file matters before you start cutting.
Work in Main edit to find the sections you want to keep. You don't need to finish a long edit before making a reel, but the footage you select needs to be in the timeline.
Mark a moment worth keeping
Move the playhead just before the action starts and choose Start highlight in the timeline toolbar. Move to where the moment ends and choose End highlight. The default shortcuts are Shift+I and Shift+O; you can change them in Settings → Keybindings.
Leave enough footage for someone to understand what they are seeing. A turn may need its approach, and a finish may need the few seconds after crossing the line. You can tighten the highlight later.
If you already have a range in mind, Shift-drag on the timeline ruler to select it, then choose Add range to highlights. That copies exactly the selected stretch into Highlights and leaves the range set. Repeat for the other moments you want in the reel.
Each highlight keeps the selected footage's timing, camera views and audio. Its telemetry stays tied to the original activity moment, including when you move that highlight earlier or later in the reel.
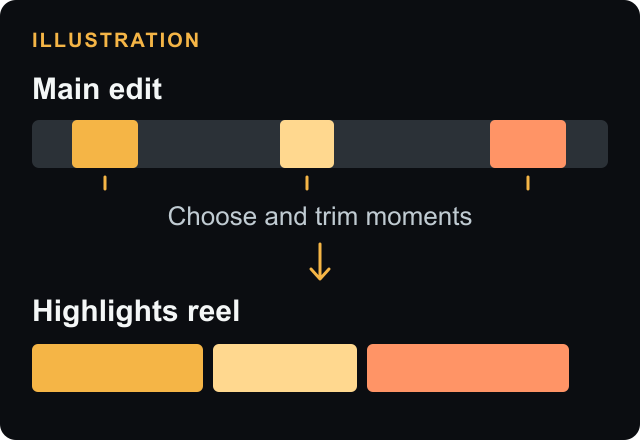
Trim and arrange the Highlights reel
Switch to Highlights. This is the sequence for your reel; Main edit holds the longer edit, and Final video can combine both. Marking a highlight keeps the original footage in Main edit. Export from Highlights when you want only the reel.
Play each highlight and drag its start and end handles to shorten the beginning or end. Edits within a highlight are independent of the main sequence, so you can make the short version tighter without cutting those seconds out of Main edit.
Under Sort by, choose Time to follow the order of the moments in Main edit. Choose Manual when you want to tell the story in a different order, then drag the highlights into place. An opening view of the trail might give a later descent context; a finish might work better at the end even if you selected it first.
Watch the joins between highlights. Remove an extra approach or a repeated view when it slows the reel down. Keep enough of each moment to make its changing readings meaningful, and check that the overlay leaves the action visible.
Picture-in-picture and cutaways inside Highlights keep their own plan requirements. You can make a manual reel on Free without adding either.
Let Highlights explorer help with a long recording
On Creator, Studio or Founder, open Tools → Highlights explorer. It looks for climbs, descents, sprints and sustained efforts that have matching footage. Choose a suggestion to watch its video, check the start and end, and trim it before adding it to Highlights. You can add moments individually or together.
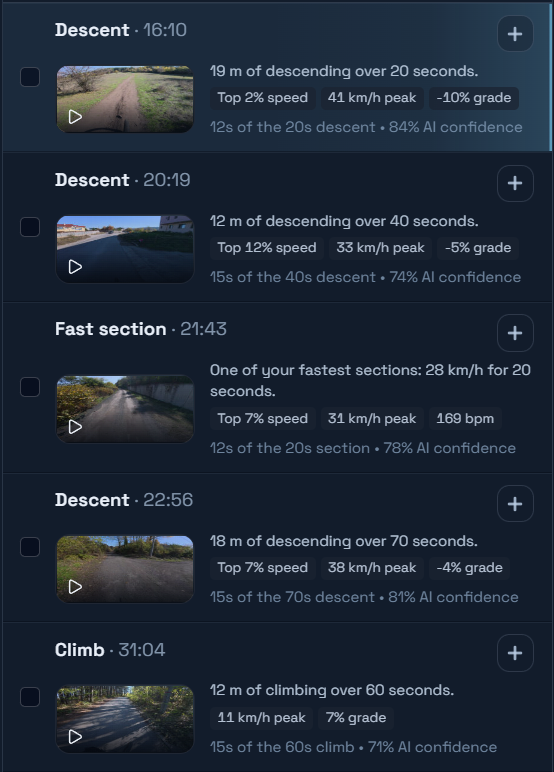
AI review is optional and applies to GPX, FIT or TCX recordings you upload; your video stays on your device. Activities imported from Strava use local detection and ranking. To enable AI review for one, use Import GPS file in Highlights explorer to supply the original recording from your device or GPS computer. It must follow the same route and cover at least 80% of the trimmed activity; only that file is reviewed. The Movaro 1.5 announcement explains the review allowances and source requirements.
Treat the shortlist as editing help. A demanding climb may make an interesting activity record while the camera points at the ground. Keep the moments that work in the footage, and add any quieter scene you want by hand.
Export the whole reel or just a few highlights
From the Highlights timeline, choose Export to open the Highlights reel export. Check Length in the settings. Choose Whole reel to include everything; if a range is still set on the Highlights timeline, the export may start with Range selected instead.
To export a smaller selection, open the Highlights list in the Videos panel, check the moments you want, and choose Export at the bottom. The export starts with those highlights selected and plays them back to back in reel order. You can still change Length to Whole reel, or to Range if you have selected a range on the Highlights timeline.
Review the canvas, video frame rate, layout and destination in the export wizard, then choose Export highlights. The reel keeps your highlight trims, camera views, audio and overlays. With the default destination, it saves in your project's Exports/Highlights folder.
Open the finished file and watch it from start to end, preferably on the screen where you expect people to see it. Check the first frame, the joins, the sound and the last frame. If the reel needs one more cut, return to Highlights, make the change and export again.